

Solving a Dilemma
This is a simple how-to for a cost effective drip irrigation system for your garden. My motivation to set up my garden for drip irrigation was pretty simple. In the summer, it gets to 90+ degrees outside, and my 50' garden hose didn't reach the far extents where I have the majority of my large trees. I noticed a large amount of the water I applied to the trees just ran off and did absolutely nothing. This was a huge waste of resources.
I looked up a quick drip irrigation tutorial, which took about 2 hours to read. I know most people like me are very impatient and want to get their hands dirty right away. I managed to obtain all the parts at Home Depot in about 30 minutes time. I used all Rain Drip brand components. This is in no way an endorsement - just the most cost effective for my budget.
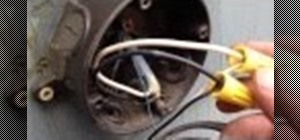
From what I gather, the trick to drip irrigation is to keep the root system moist. You want the water to soak into the ground slowly instead of running off of the top producing nothing, and wasting water. The ground if watered slowly acts like a big sponge and will retain the water a lot better. I don't know a whole lot about plumbing, except for all the Super Mario Brothers games I played as a kid so I opted to run this all off of my hose bib outside. Enough about me. Let's get our hands dirty.
Recommended Tools
- Utility knife
- Tape measure
- 2 pairs of pliers
- Zip ties
- Scissors or wire cutters
- Hammer
- Brain
- Common sense
- Duct tape (optional, more for the MacGyver inspiration really)
- Moisture meter with chart.
Step 1 Obtain parts.
I got these all from Home Depot. I have provided SKU numbers for convenience.
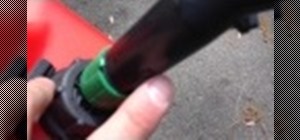
- RAINDRIP 1/Card, Black/Green, 3/4 In. Hose Thd. Swivel x 1/2 In. Adaptor, Model # R320CB, Store SKU # 840017
- RAINDRIP Each, Black, 1/2 In. Poly Drip Watering Hose, 200 Ft. Coil, Model # 052020P, Store SKU # 840386
- RAINDRIP Each, Black/Green, 1/2 In. Compression Tees, Model # 347G00UB, Store SKU # 624140
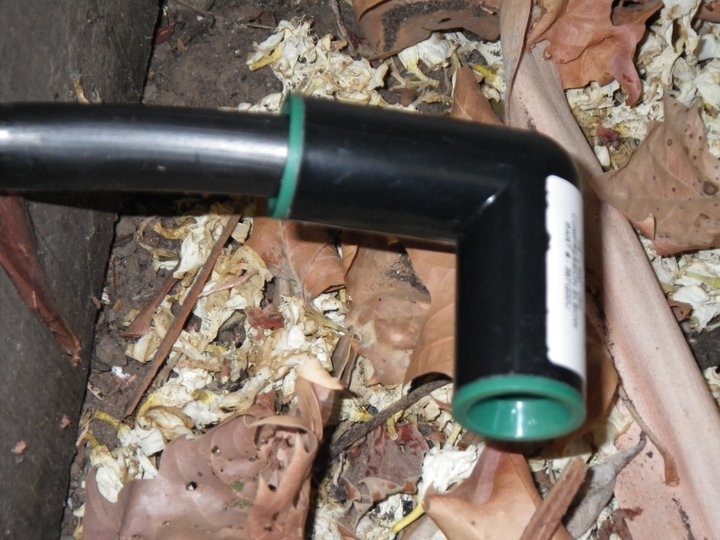
- RAINDRIP Each, Black/Green, 1/2 In. Compression Elbows, Model # 367G00UB, Store SKU # 624218
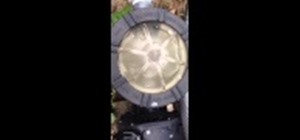
- RAINDRIP 1/Card, Black, 3/4 In. Preset Hose Pressure Regulator 25 - 30 PSI, Model # R463CB, Store SKU # 798282
- RAINDRIP 50/Bag, Black, 1/4 In. Double Barbed Connectors, Model # 312050B, Store SKU # 961868
- RAINDRIP Each, Black, 1/4 In. Poly Tubing - Black, 100 Ft. Coil, Model # 016010T, Store SKU # 795119
- RAINDRIP 50/Bag, Black, 1/4 In. Double Barbed Tees, Model # 307050B, Store SKU # 961876
- RAINDRIP Professional Hole Punch, Model # 63100UB, Store SKU # 657815
- RAINDRIP 25/Bundle, 8 In. Galvanized Wire Hook Stakes, Model # 397025B, Store SKU # 136595
Step 2 Choose the appropriate dripper type for your soil:
For heavy clay soils: RAINDRIP 50/Bag, Black/Red, 1/2 GPH Pressure Compensating Drippers, Model # PC2050B, Store SKU # 840181
For loose soil: 1GPH drippers, Sandy soil 2GPH drippers. RAINDRIP 50/Bag, Black/Red, 1/2 GPH Pressure Compensating Drippers, Model # PC2050B, Store SKU # 840181
Step 3 Assembly.
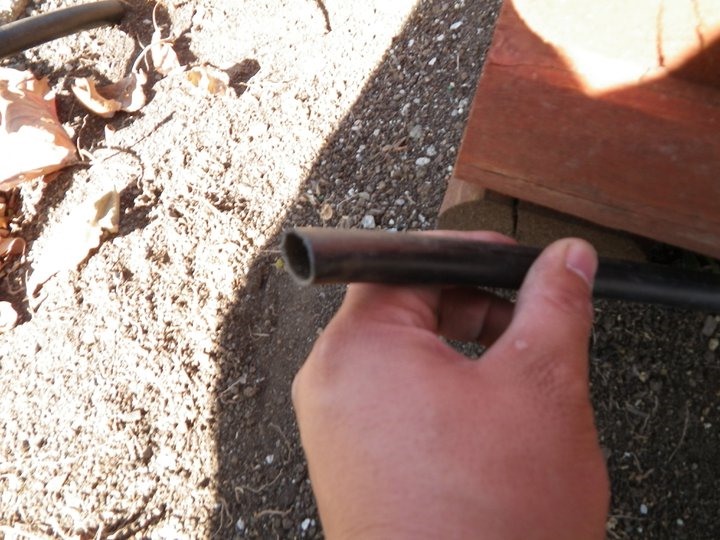
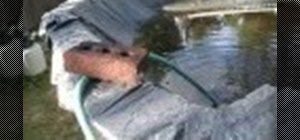
Uncoil both ½" and ¼" hoses, leave them in the sun for a while. This allows the coils to relax and makes them a lot easier to work with. Be very careful not to kink the hoses. It takes about 10-20 minutes for the plastic to lose the coil memory.
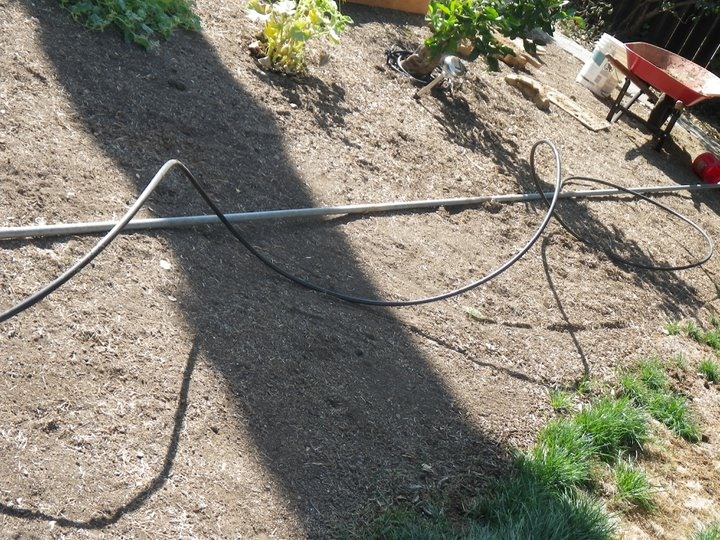
Next, route the hoses in the most inconspicuous manner possible. Start from your water source and proceed outward. I tried to hide my ½" hoses along the fence line wherever possible and fastened them down with the wire hook stakes about every 2-3 feet where possible.
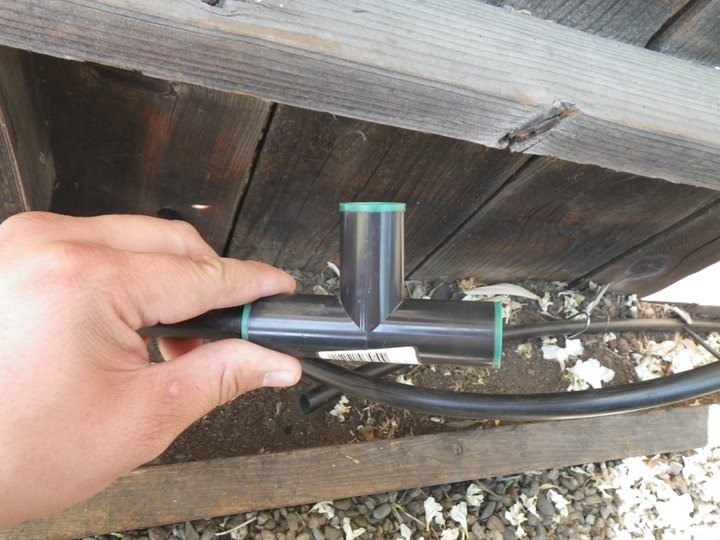
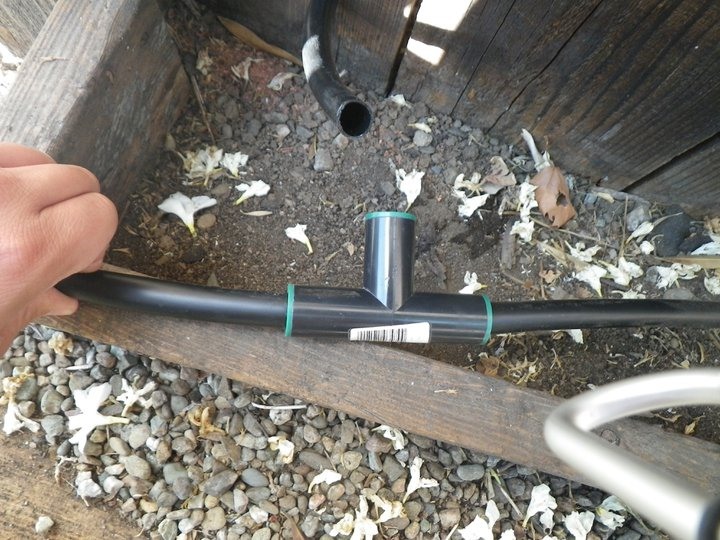
Use the appropriate fittings, T, elbow, etc to run the ½" tubing around the perimeter of the area you wish to water. Once this is all laid out, it is a good time to leave the terminal end open and pressurize the system to blow out any dirt that may have gotten into the tubing, this will help keep your drip heads from clogging.
Once you feel the line has been sufficiently flushed, fold about 3-5" of the terminal end onto itself and fasten in place with either the figure 8 clamp (I didn't list the part for this, but they are very inexpensive) or a UV proof zip tie.
Step 4 Keep the system pressurized.
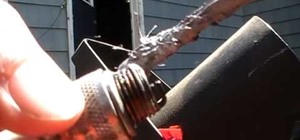
For the next step, I left the water on to keep the system pressurized. I did this for 2 reasons. It allows you to punch the hole in the line with the punch tool without deforming the tube too badly, and it was almost 100 degrees outside and the spray of water in the face was refreshing.
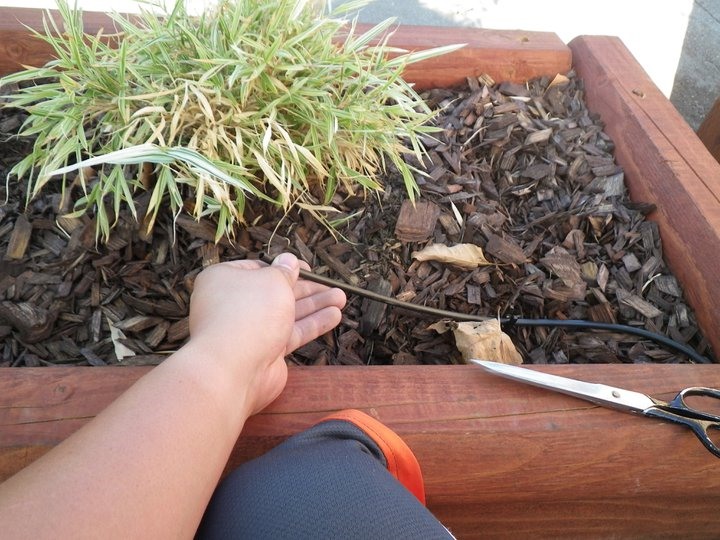
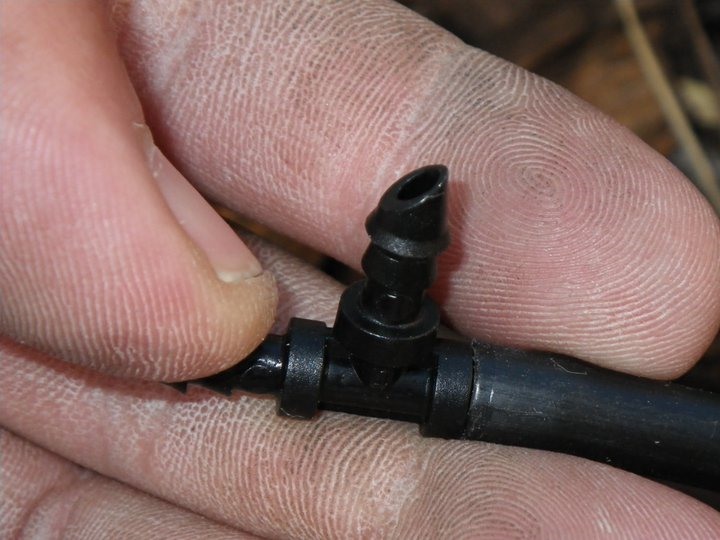
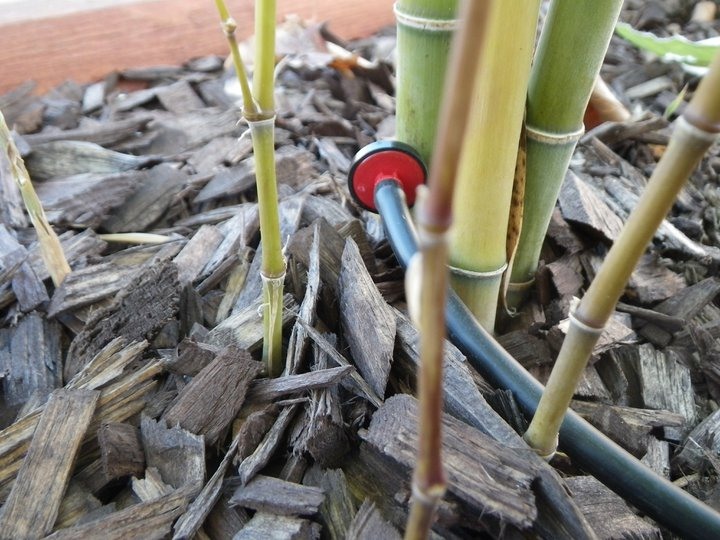
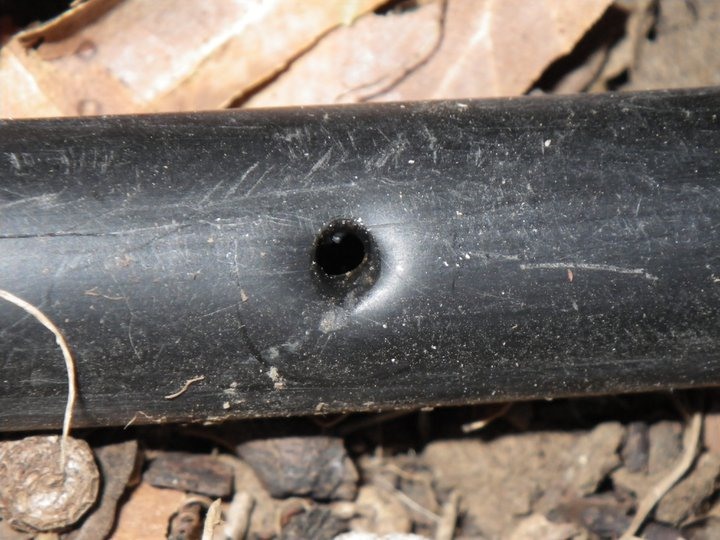
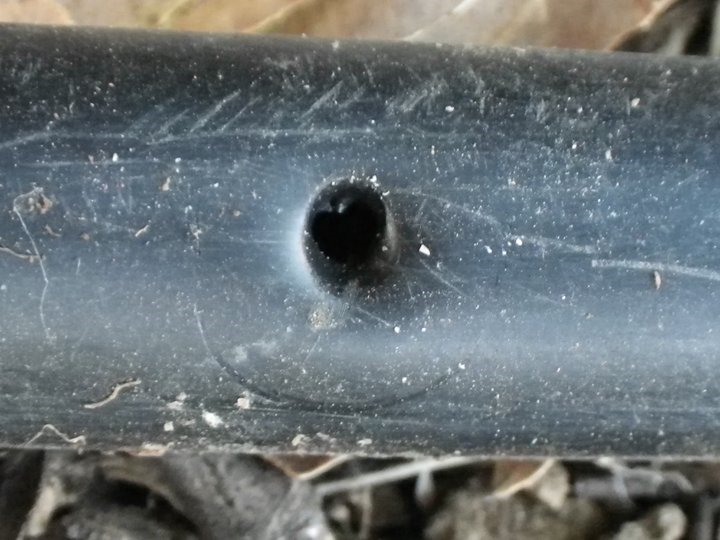
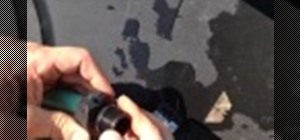
Start from the plant closest to the terminal end of the tubing. Measure out your ¼" line and cut to length, attach one of the barbed connectors to the end that will be applied to your ½" tube, and add a dripper head or T connector to the other end depending on how many drippers will be required on that one stretch. Use the punch tool to make a hole in the ½" tube, I recommend making the hole opening as close to the angle the ¼" tube will need to connect at so there is less chance of kinking the ¼" tubing. Jam the barbed end of the connector into the line until it clicks and you don't see or hear water gushing out of the joint. Repeat this step for all other connections. (the manufacturer recommends to place the ¼" tubing holes in the ½" line not less than 12" apart from each other.) There were several places where I ended up placing the ¼" tubes about 8" away from each other and it was fine.
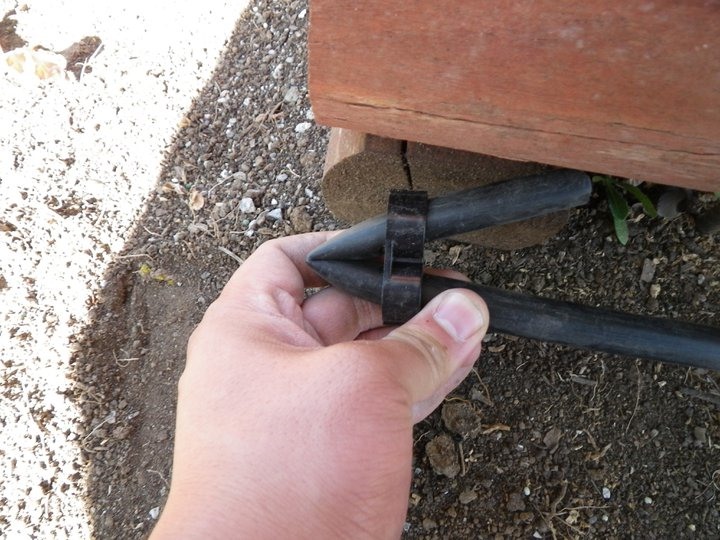
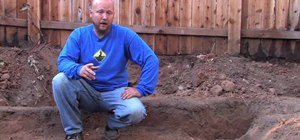
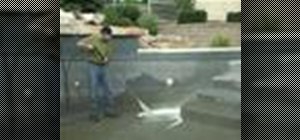
Step 5 Dig and hide the tubing.
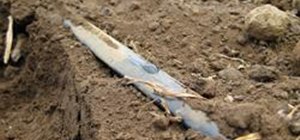
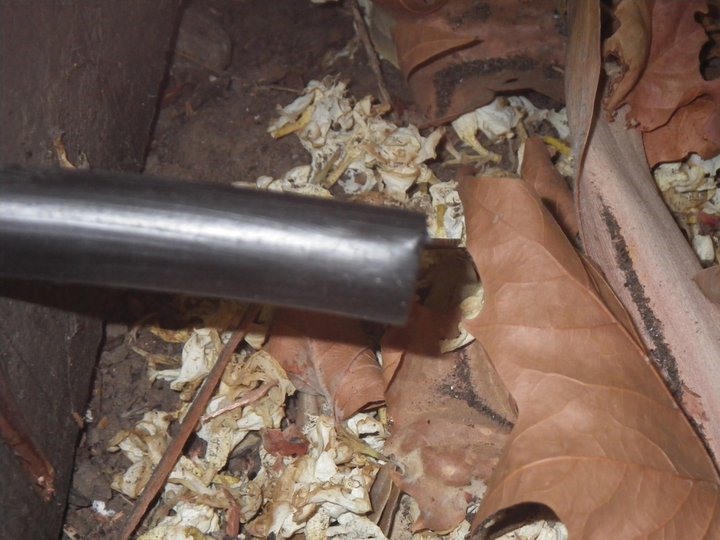
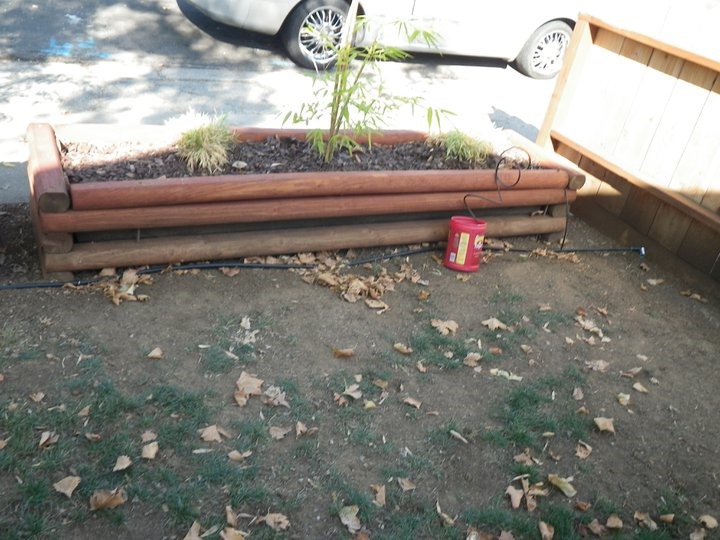
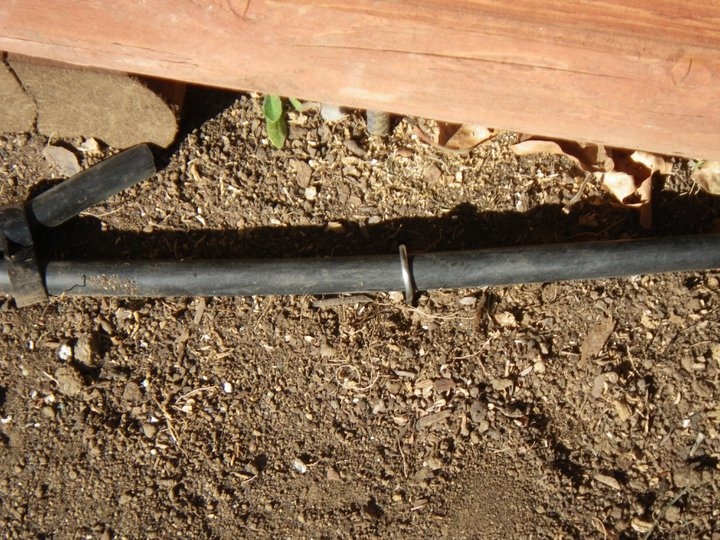
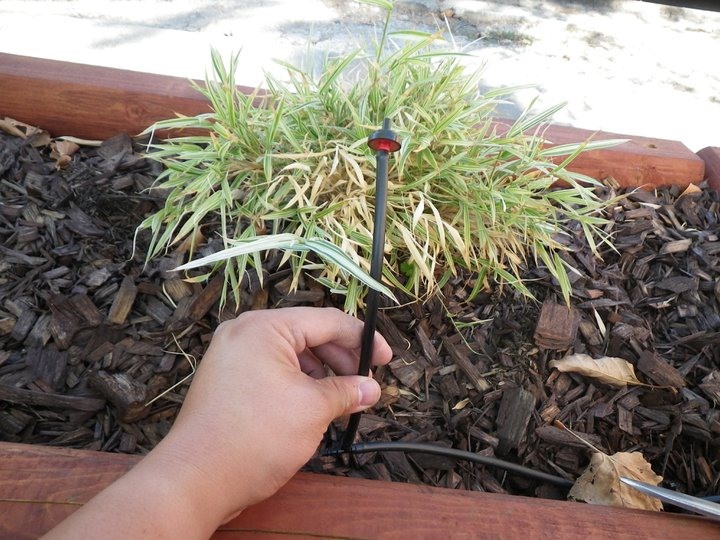
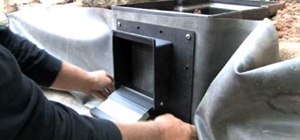
If like me, you have trees in the middle of the yard, you can cut the ½" tubing and add a T connector, and run additional ½" tubing to the tree, shrub, bush, etc. I didn't like the unsightly hose running above ground, so I dug a 6" wide by 6" deep trench from the source line to about 1 foot away from actual tree, then attach an elbow, and a 12-16" tube sticking out of the ground to tie the ¼" lines into, more if you want to continue the ½" tube to planter boxes or other trees. I also buried the line with the system pressurized and compacted to dirt over it to prevent the line from collapsing in on itself.
Step 6 Troubleshoot and monitor.
After all is said and done, make sure that all of the drippers look to be emitting the same amount of water. I run my system for 2 hours a day in the morning. This seems to keep the trees nice and green. Keep an eye on which plants may need more water. This is usually indicated by wilting, browning, or overall dying look. In these areas, replace the drip head with a T connector, and add an appropriate amount of tubing and additional drippers. Conversely, if you see yellowing of the plants, remove or replace the heads with a lower flow rate head.
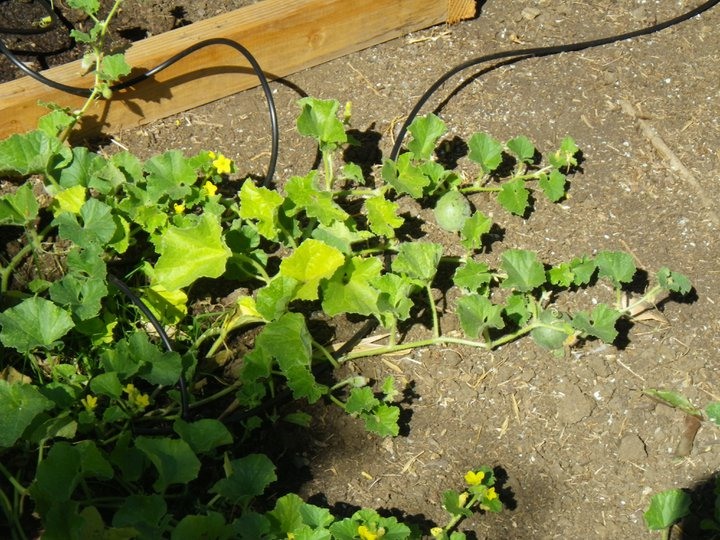
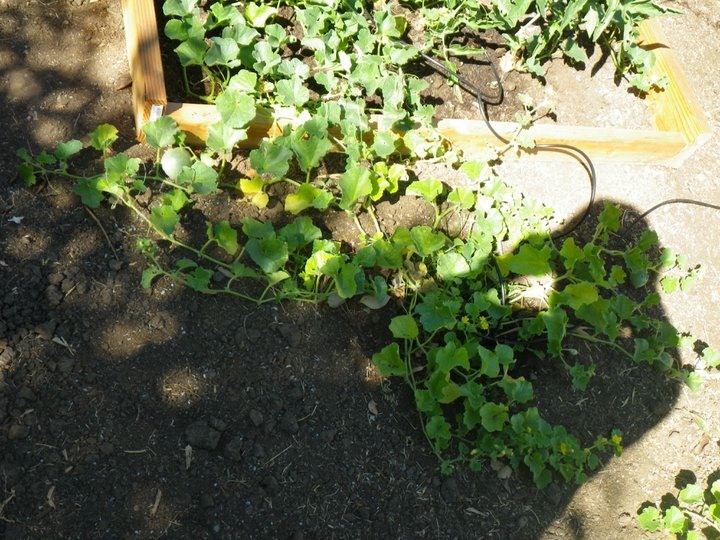
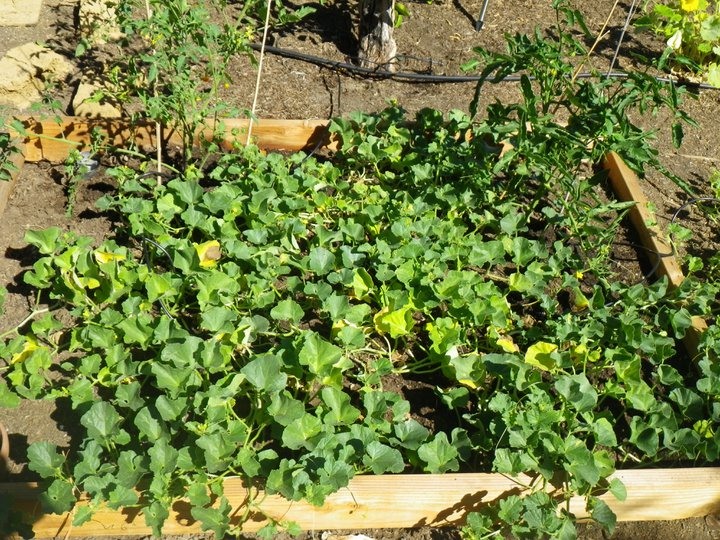
Pictures show how it's done!
If you're a more visual learner, here's are step by step galleries of how you, too, can accomplish this!
PART 1
PART 2
PART 3
Submitted & printed with permission by Walter Teruya.
Just updated your iPhone? You'll find new emoji, enhanced security, podcast transcripts, Apple Cash virtual numbers, and other useful features. There are even new additions hidden within Safari. Find out what's new and changed on your iPhone with the iOS 17.4 update.


Be the First to Comment
Share Your Thoughts